CloudPanel is like CPanel, but it’s free.
The following are steps to install cloudpanel on EC2 instance.
Install CloudPanel on EC2
Summary Steps:
The step is simple,
- we just need to click a link provided by cloudpanel website,
- it then redirects to launch EC2 instance page on AWS console, and automatically selecting cloudpanel ubuntu AMI.
- create EC2 instance, done.- Make sure you have already signed in to AWS console aws.amazon.com.
- Open https://www.cloudpanel.io/, click Get Started
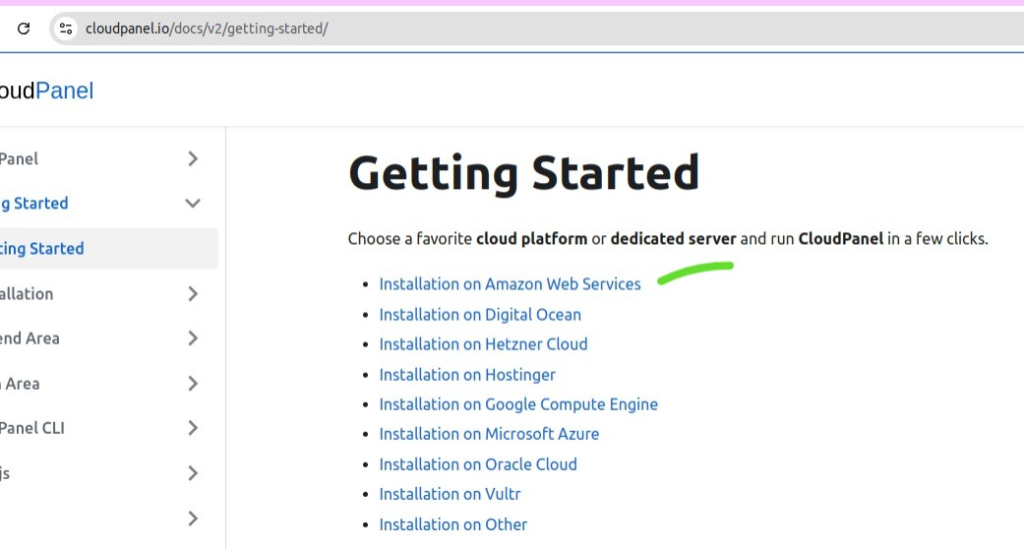
- Click Installation on Amazon Web Services
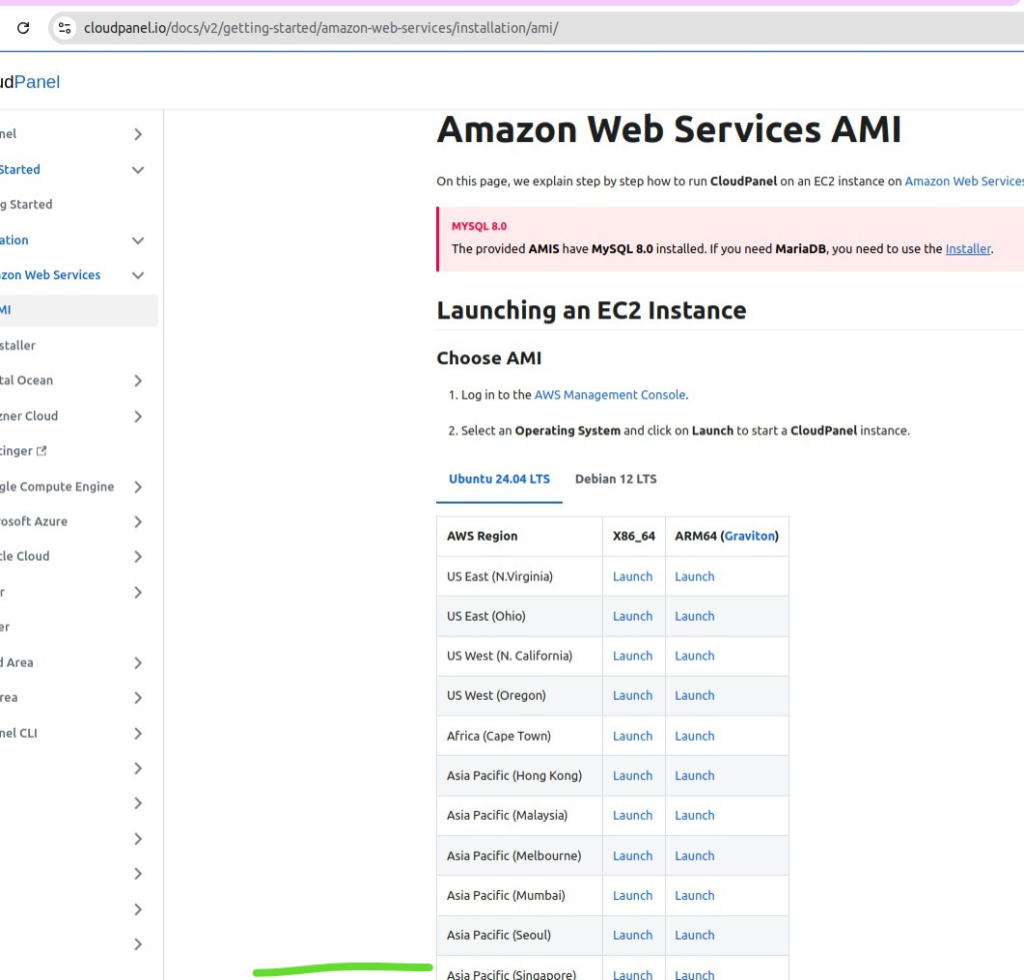
- Choose your region. Because i hosted my server in Asia Pasific (Singapore), so i choose Singapore, and choose Ubuntu 24.04 LTS, and using X86_64 architecture. Click Launch.
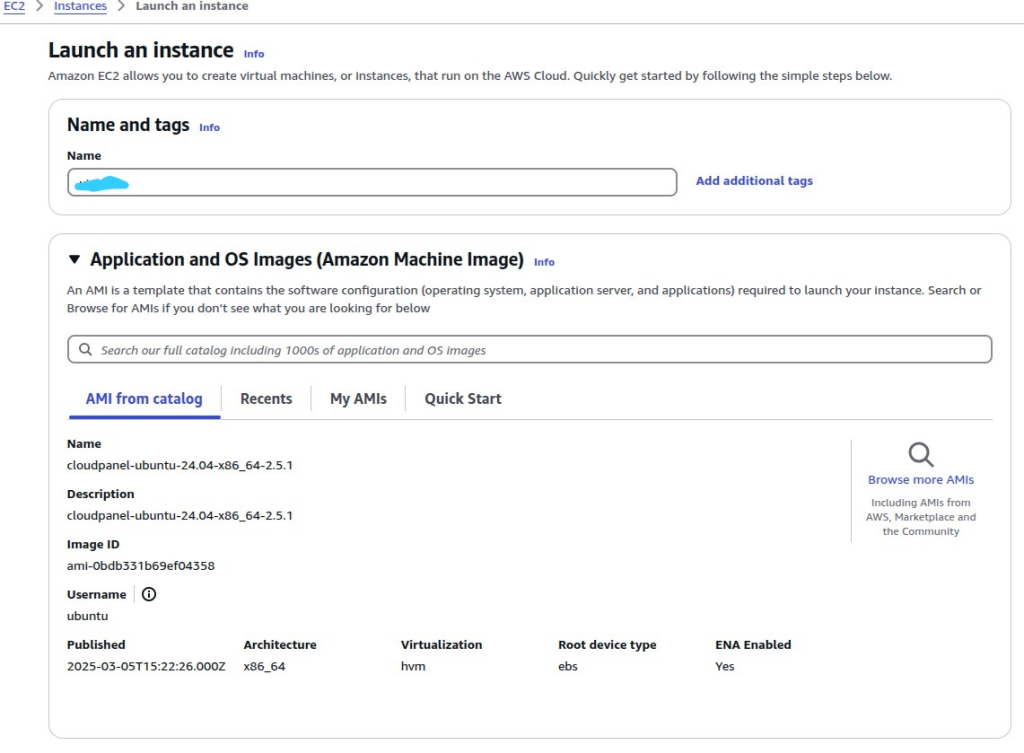
- After clicking launch, it will redirect to launch an instance page on EC2 as below. It uses cloudpanel-ubuntu-24.04-x86_64-2.5.1 AMI from catalog.
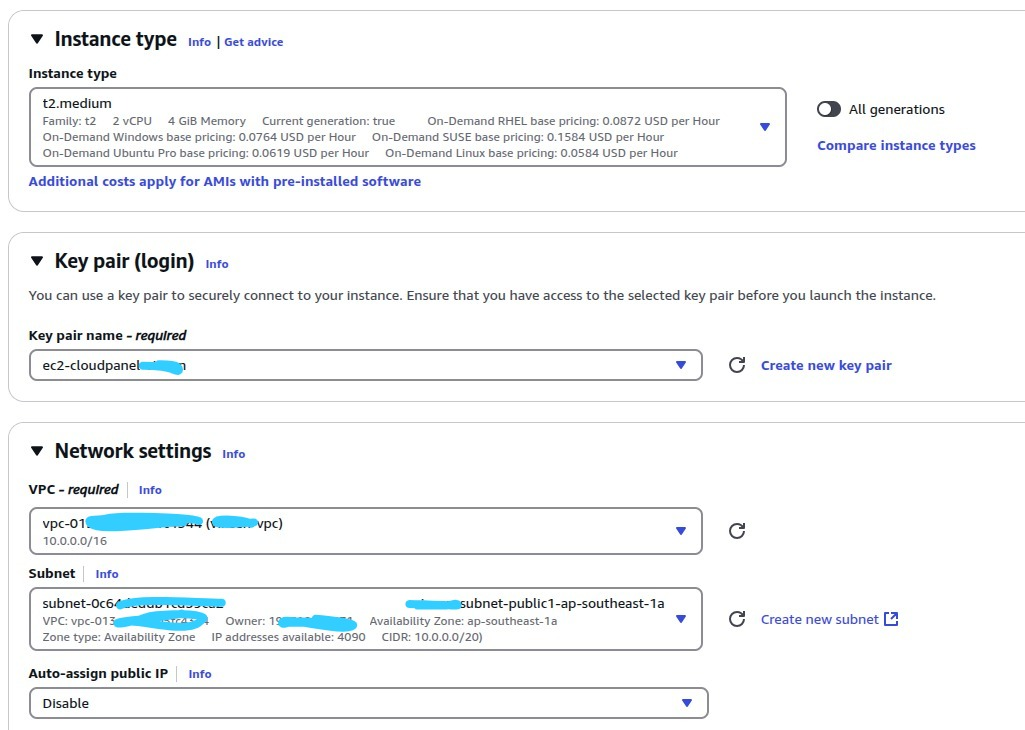
- The next step is the same as you create a normal instance, you defined instance type, key pair, network VPC, subnet, so on.
- Instance type: t2.medium
- Key pair: ec2-cloudpanel-x
- Network settings:
- VPC: choose your vpc
- Subnet: important! choose your public subnet
- Auto assign public IP: disable
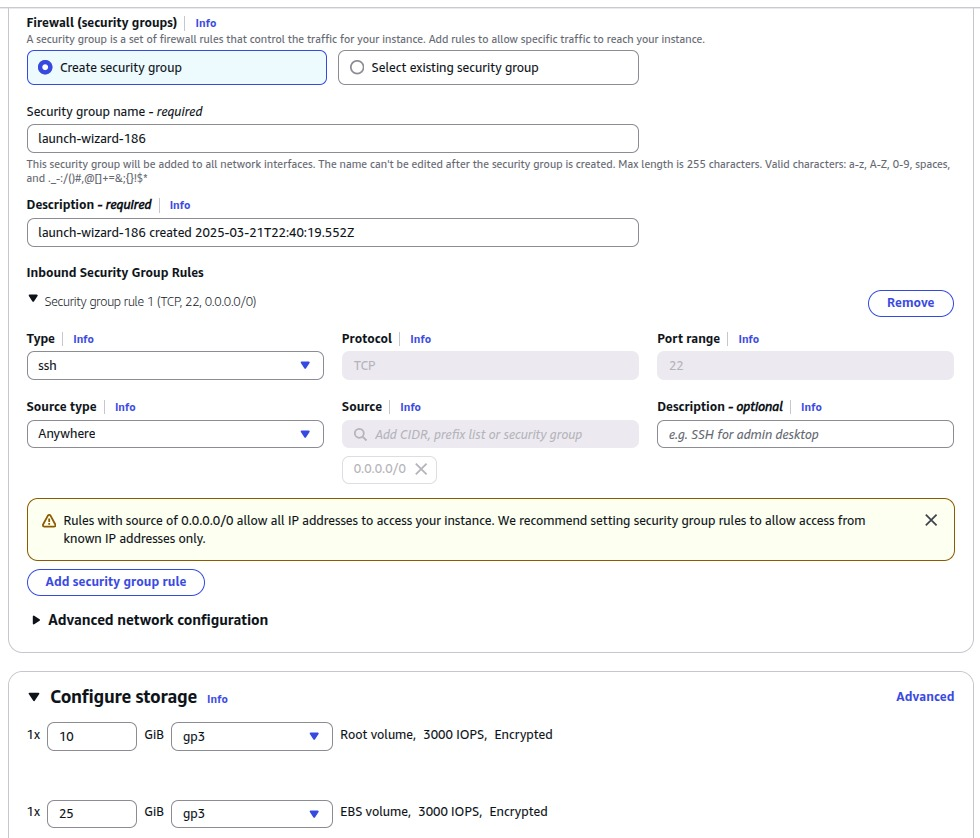
- Allow some ports in inbound security group rules:
SSH (22) - 0.0.0.0/0
HTTP (80) - 0.0.0.0/0
HTTPS (443) - 0.0.0.0/0
CloudPanel (8443) - 0.0.0.0/0- Leave the configure storage as default.
- Then click Launch instance (in the bottom right corner).
- Wait for some minutes until the instance state is running and status check is passed.

Attach Static Elastic IP Address to EC2 Instance
After instance created, the instance is still not have static IP address. To make it static, we can leverage Elastic IP Address.
- Still in the EC2 dashboard
- Go to Network & Security menu (in the left corner) > click Elastic IPs
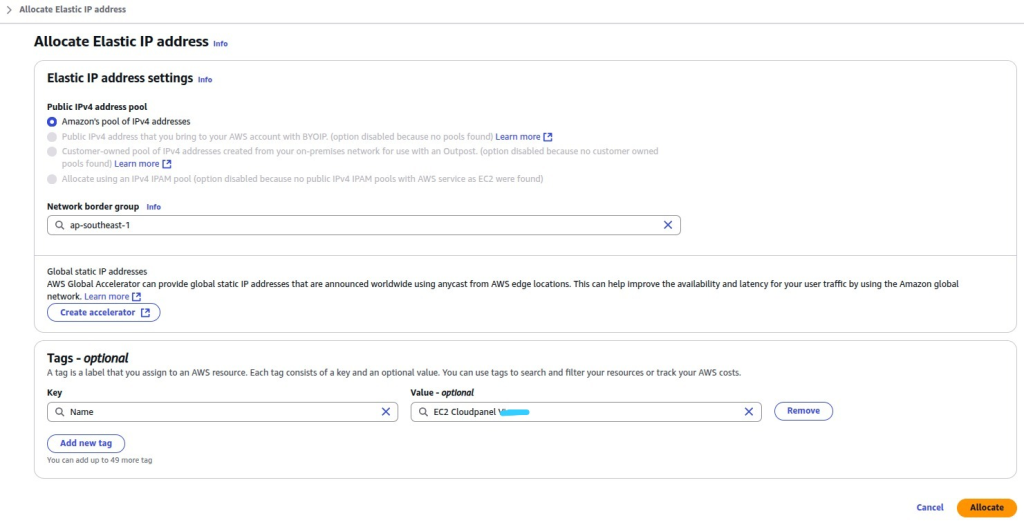
- Click Allocate Elastic IP address

- At Allocate Elastic IP address page below, just give a Tags name (optional) Key: Name, Value: EC2 CloudPanel, click Allocate
- After Elastic IP address created, then attach IP to EC2 instance, click Allocate Elastic IP address > Associate Elastic IP address
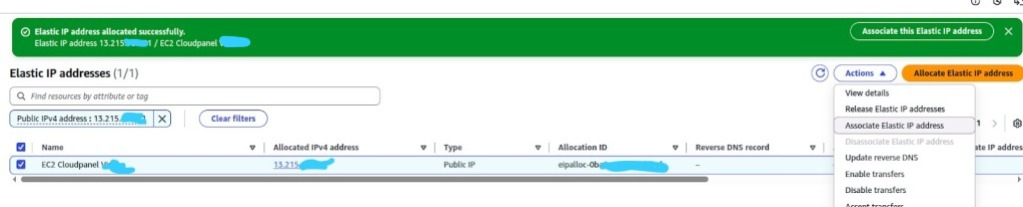
- Searching your instance in Instance field. Click Associate.
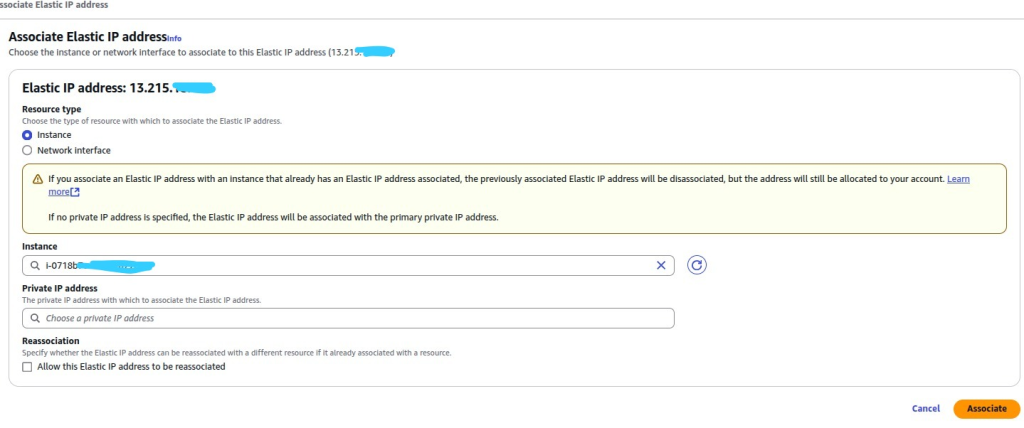
- Now the instance has an Elastic IP address 13.215.x.x
Accessing CloudPanel via browser
The previous step, you have associated Elastic IP Address to EC2 instance. Now, to access cloudpanel on browser, just typing https://<your elastic IP Address:8443>, for example:
https://13.215.x.x:8443- If works, you can see page below. Your connection is not private, because you have not already set SSL yet. Don’t worry about this, just click Proceed to <IP> (unsafe)

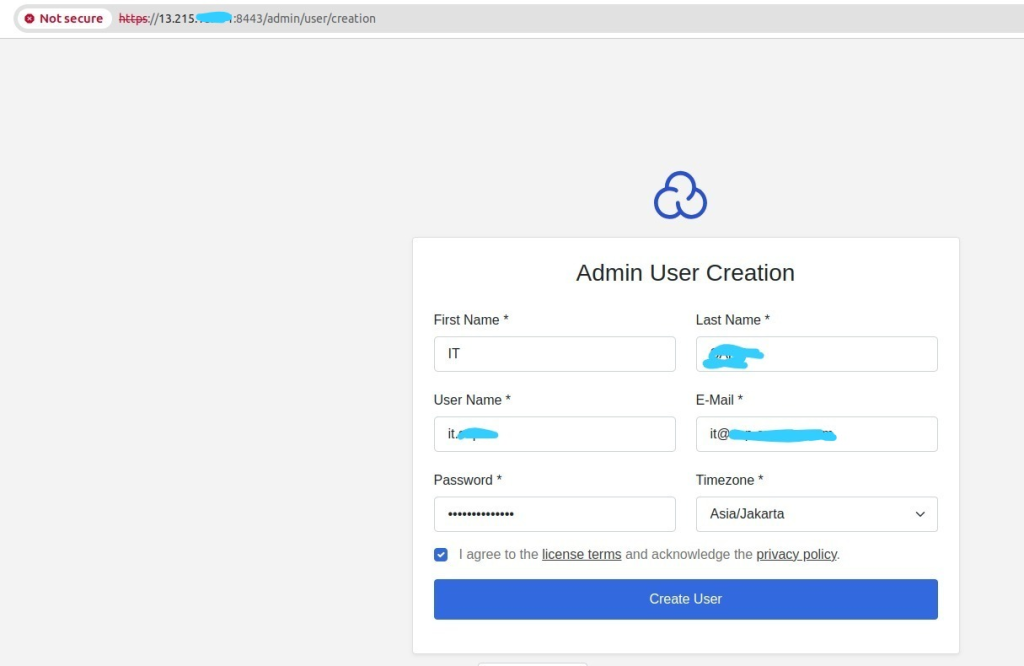
- The first thing you should do in cloudpanel is to create admin user. Enter first name, last name, username, email, password and timezone.
- Tick, i agree … and click Create User
- After clicking Create User, you will be redirected to login page. Enter your username and password you have previously created.
- IF login succeed, you can see cloudpanel dashboard, like this:
