In the previous tutorial, we have installed cloudpanel on EC2 instance on Ubuntu 24.04. And to access cloudpanel, we use IP address instead of domain name, as follows:
https://13.215.x.x:8443
That is not best practice, because we are using untrusted SSL/TLS on HTTPS (self signed certificate), which means the certificate is not verified by external certificate authorities, and it will increase security risks.
The best practice is to use domain name for cloudpanel URL, and using trusted SSL/TLS. And in here, we are going to reach this out.
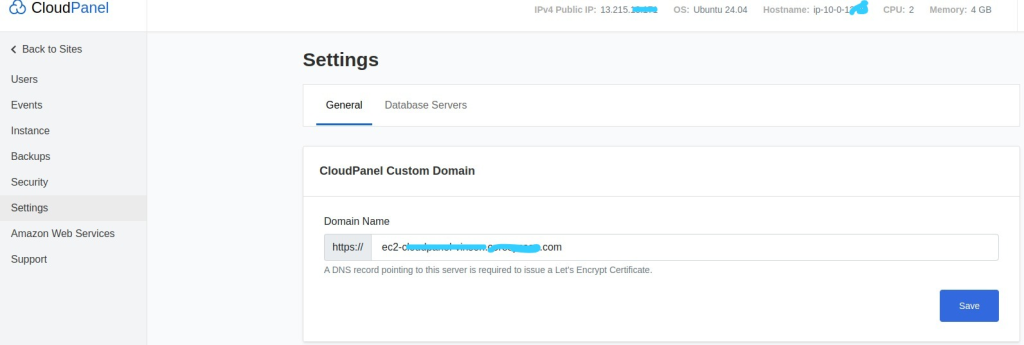
CloudPanel Custom Domain
Cloudpanel already has a custom domain configuration, so we just place URL in it.
- Login to cloudpanel using IP address:8443
- On the top right corner, Click Admin Area

- On the left menu, click Settings, it opens cloudpanel custom domain page on General tab, enter your domain for cloudpanel.
- Click Save. Cloudpanel will add SSL/TLS Let’s Encrypt trusted certificate.
Note:
Be sure, your domain has already pointed to cloudpanel IP address with A record type. If not so, open your DNS management on that domain, add A record with subdomain and cloudpanel IP address.

This takes several minutes to hours for DNS propagation.
DNS Management

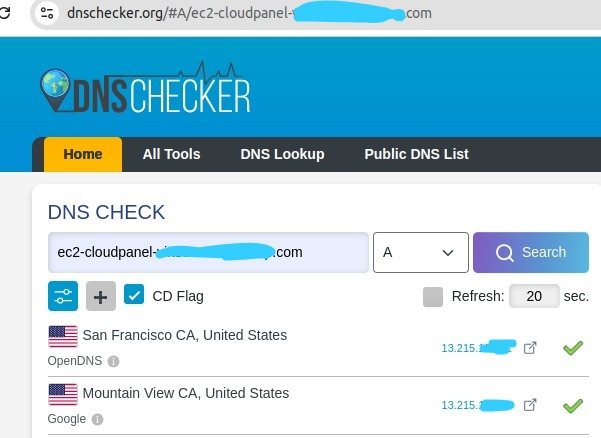
DNS Propagation, you can check domain is pointed to cloudpanel IP successfully on dnschecker.org
Once the domain has pointed to cloudpanel IP address, you can test open:
https://<yourdomain.com>
Note: you don’t need to enter port 8443 anymore, just enter your domain.
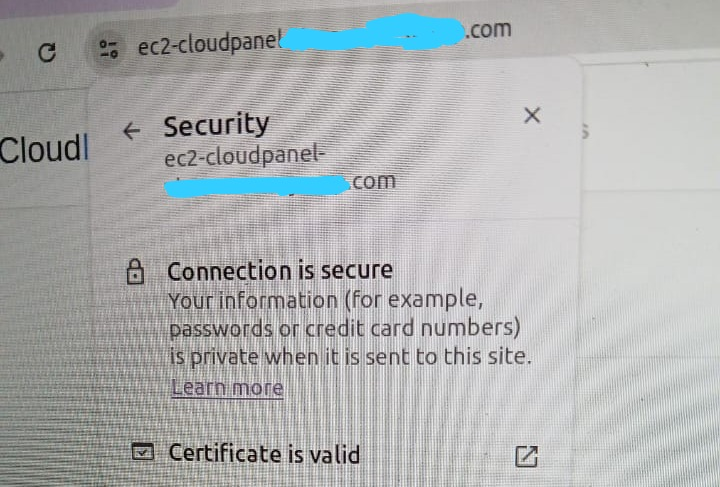
Now, it’s using HTTPS with Let’s Encrypt. If you click small icon beside URL, the connection is now secure and certificate is valid (trusted).