In this article, we will installing zend framework 1.12 in windows.
To install zend, you must :
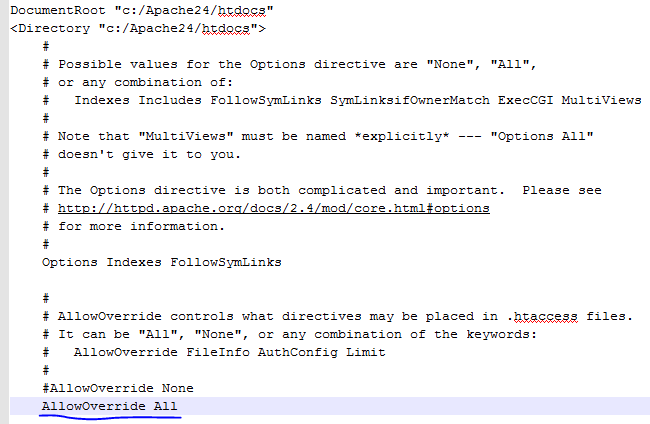
– Activate mod_rewrite in httpd.conf on your apache.

– Change AllowOverride none to AllowOverride All in httpd.conf.
Ok, if you’ve done with above step,
Lets do the following steps :
1. Download Zend Framework 1.12.13 Minimal from http://framework.zend.com/downloads/latest
2. Extract .zip file to htdocs folder, then you can see folder name “ZendFramework-1.12.13-minimal”, change it name to “ZendFramework_Installer”.
3. Next, we will adding variable path, click start > right click computer > properties > Advanced system settings > switch to tab ‘advanced’ > click Environment variables > in System Variables choose ‘PATH’
add script below at the end :
C:\Apache24\htdocs\ZendFramework_installer\bin;
4. Log off your computer
5. Well, we installing zend framework using command prompt.
Open your command prompt,
type
cd :c/Apache24/htdocs/
type
zf create project zf-tutorial
bingo!
your project with name ‘zf-tutorial’ has been created.
you can run with url http://localhost/zf-tutorial/public
for solution, replace library folder in ‘zf-tutorial’ with ‘library’ from ‘ZendFramework_Installer’.


